Monday, January 28, 2019

What’s Happening on the Old Line Corridor, January 2019 Edition

Smells like team spirit: Operation Lifesaver is in the house--this Conrail Operation Lifesaver GP15-1 was a gift to my wife, Rachel, who is Operation Lifesaver's national Executive Director. Finally got a DCC decoder into this gem of a model over a recent weekend so it can run on the Old Line Corridor layout.  
A tiring chore completed: this sound-equipped Bachmann GG1 in Congressional Silver threw a traction tire, which needed to be replaced. Traction tires are an unfortunate fact of life in N scale. Can't live with 'em because they interrupt good pickup and make rerailing a hassle, can't live without 'em because when they inevitably come off, the wheels are won't track or roll well because of the big ol' groove in the wheel profile. The model required complete disassembly to replace that one errant traction tire. This problem also afflicts Kato's otherwise excellent GG1 model as well. Would that some aftermarket manufacturer devise some ingenious method of replacing traction tires permanently with solid metal tires.  
And a fun structure build: this Walthers farm equipment supplier kit fits together especially well and is well engineered, unlike Walthers massive papermill kit which suffers thin, flimsy, translucent walls and confounding windows. Walthers could improve the instructions for all its current structure kits. 


Monday, January 21, 2019

Texas Interurbans

This old freight motor, Interurban Express Motor #330, is on display at the Visitor's Center in downtown Burleson, TX. I visited family there recently, and they took me to see the partially restored car, the interior of which also serves as a museum exhibit.

Side view of 330. Looks like it rolled right out of the Crooked Mountain Lines shop. Particularly striking was the gaunt, small scale of the cars on display in comparison even to modern light rail vehicles, let alone to modern mainline passenger and freight equipment. 

Parlor Car #411 is also on display--a much fancier specimen than that rugged old freight motor. Unfortunately, appears to be missing its pilot and steps. The wood restoration on both 411 and 330 is excellent but both were missing traction motors wiring. Wonder what the prospects for full restoration to operability are?

Monday, January 14, 2019

Catenary Towers, Part 3: Blending In and Finishing Touches

What it's all about: the finished result. Scenery materials and weathering blend the painted Shapeways/Designdyne towers into the layout as described below.


Principal blending materials: Vallejo Earth Texture; ballast, soil, and green blend materials in seed dispensers; and water. Stole the idea for the seed dispensers from a recent Model Railroader article. I found mine on Amazon in a pack of five for less than $10, and I'm not sure how I did scenery work without them. The medical irrigation bottle for water was another cheap Amazon find, handy for work on the layout and at the workbench.
First step is to apply the Vallejo Earth Texture around the mounting nails to fill obvious gaps, build up terrain around the nails, and provide an adhesive surface for ballast and ground cover materials
Here is Vallejo Earth Texture covering the gouge in the scenery that resulted from leveling the towers back in Part 1, with some fresh ballast already applied to the Earth Texture. Soil and grass blend colors will cover the remainder of the Earth Texture. The seed dispenser affords precise application of the scenery materials with minimal waste.
A wet Q-Tip ('cotton bud' in UK-speak) cleaned excess Earth Texture and scenery materials off the mounting nails.


Ballast and scenery materials in place. After the Earth Texture sets, the shop vac will make short work of excess materials. after vacuuming up the excess ballast, I used the seed dispenser to touch up and fill in any remaining gaps, followed by wet water and Woodland Scenics Scenic Cement. The touching-up/filling process also allowed the ballast to fall in more naturalistic distribution around the tower bases.
After the clean ballast spots dried, I airbrushed a fog of muddy gray paint to blend them into the already weathered ballast. The flat gray enameled nail heads also blended in during this step.
A quick snapshot looking down the main line, showing off the rusty and dark variations in tower colors.  

Gray and galvanized effects looking down into the visible staging yard.

Monday, January 7, 2019

Catenary Towers, Part 2: Painting and Weathering

My improvised painting rig made good use of the towers' magnetic bases. I applied masking tape to a particularly magnetic steel ruler, and then taped the ruler to my Tamiya spray painting stand. I first touched up my original primer paint job, which I applied with a Rustoleum rattle can a year and half or so ago. The rattle can did not effectively reach the many nooks and crannies of the very detailed Shapeways/Designdyne towers, so I airbrushed another coat Badger Stynlrez black primer to make sure the many undercuts and complex shapes got adequate coverage. If Shapeways could use a black material for these particular items, it would be a great help as the white FUD material is quite challenging to prime. After the Stynelrez primer dried, then Vallejo Air rust, grey, and concrete colors were then applied. I used folded paper masks to ensure a sharp demarcation for the concrete footings and occasional sections of unrusted galvanized column. This is an all-rusty tower with no new galvanized column sections added, commonly found on the Washington-Philadelphia section of the 90s-present Northeast Corridor.   
This retired cookie sheet has been a staple of my magnetic mounting technique, and I used it to facilitate my painting production line. Here are all of the Old Line Corridor's catenary structures, in order of placement on the layout, ready for the next stage of painting. At this stage, the main structures and concrete footings have been painted; some of the insulators have been brush painted. Note that some towers are all 'rust', while others have new, galvanized sections added. A light gray color simulates the galvanized replacement sections. One of the four track signal towers received more gray than any of the other towers; this style of tower, for some reason, maintains more of its original gray/aluminum color and does not rust through as thoroughly as the more common non-signal K-braced towers.

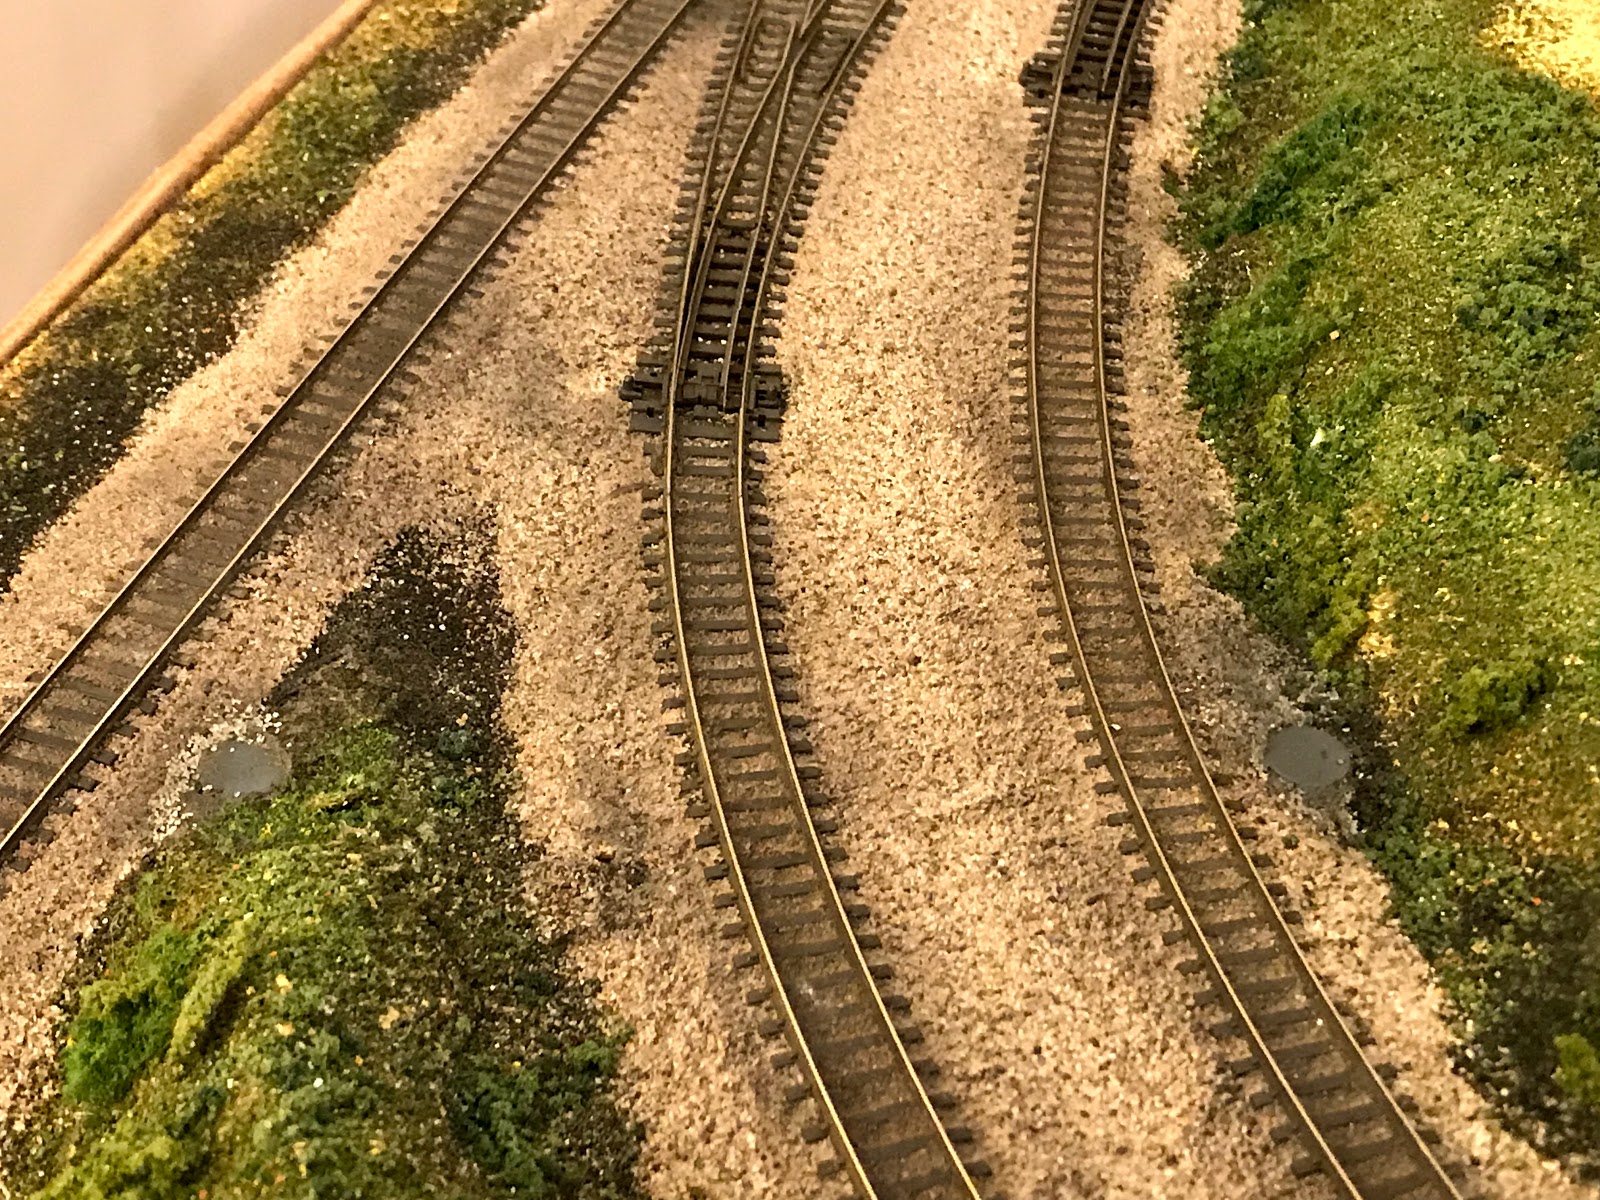
Before: roofing nails used for catenary tower bases are sufficiently magnetic and form a good grip into the sandwich of ballast, cork roadbed, and styrofoam baseboard, but they sure are shiny! 

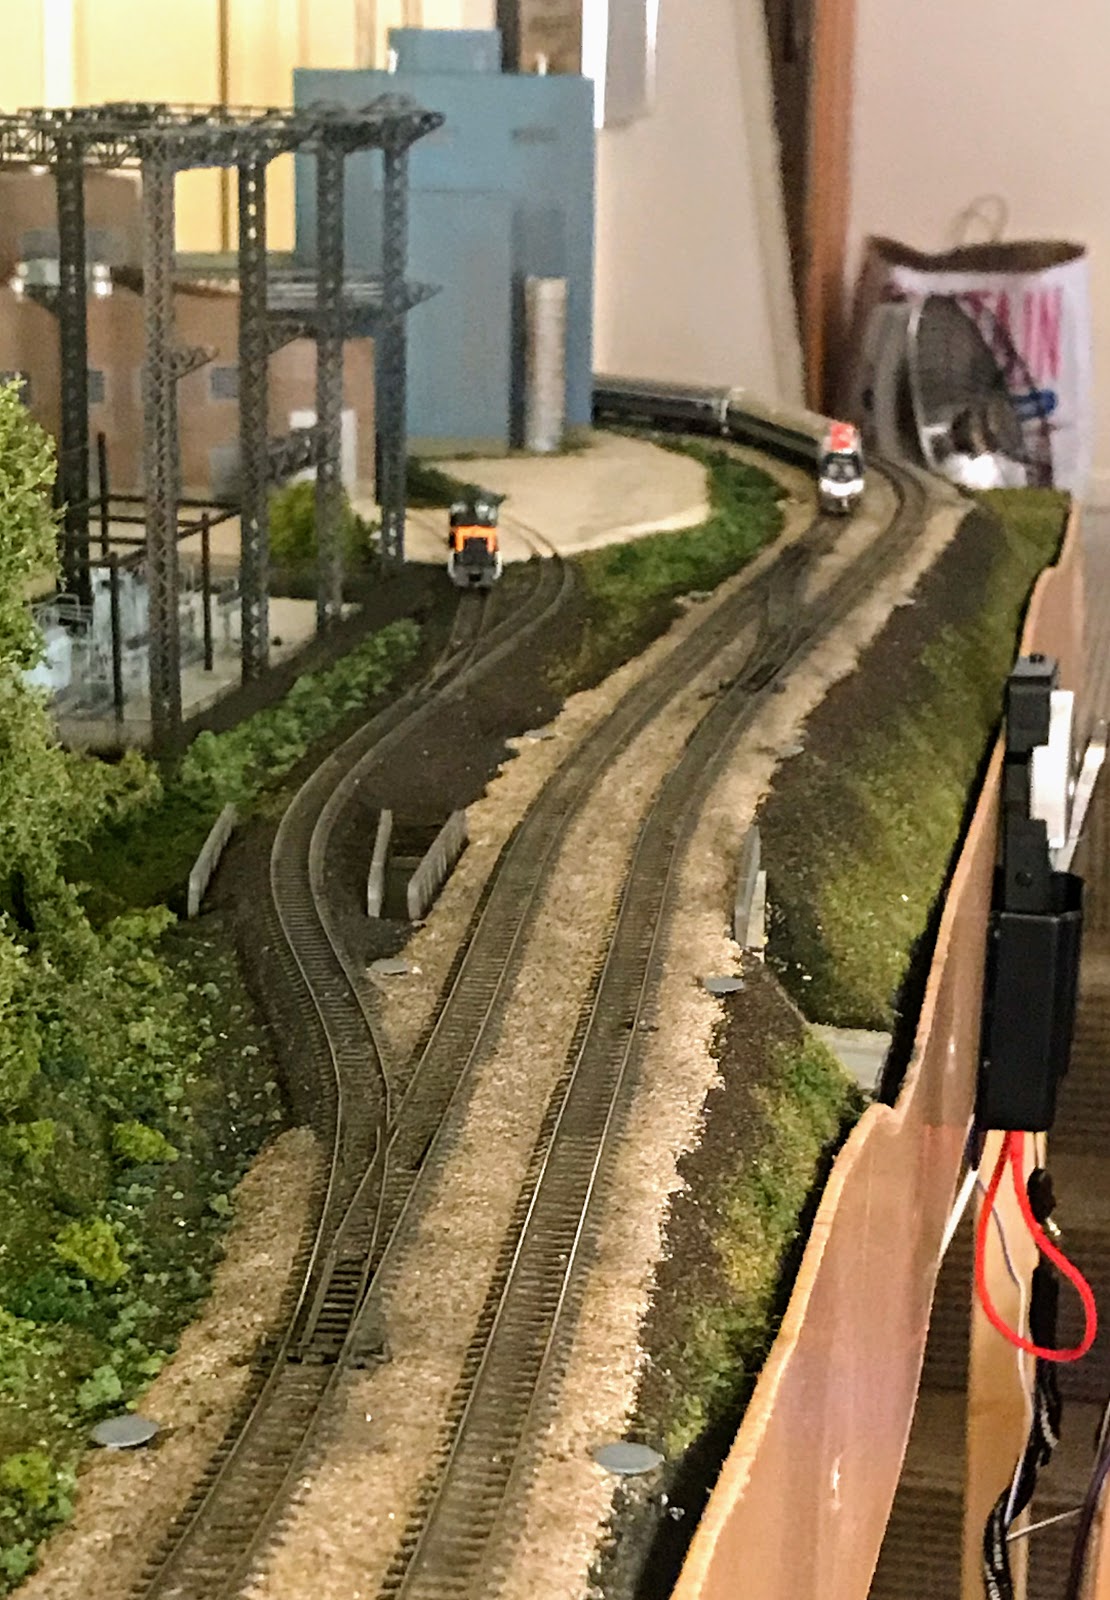
After: to kill the shine of the roofing nail heads, I sploshed (check out my UK vocabulary, maybe the Continental Modeller subscription and Kathy Millatt videos are rubbing off) some old-fashioned Testor Flat Gray enamel on each of the heads to subdue them in preparation for ballasting and blending them in. Smell evokes powerful memories, and the whiff of solvent-based enamel transported me back to my earliest days of model making. That now-rare smell of and the modest challenge of tracking down a store that still carries a stock of Testor enamel reminded me that solvent-based paints are no longer part of the model making mainstream.
In our next installment, Part 3: Re-installing and blending in the catenary towers on the Old Line Corridor.