 |
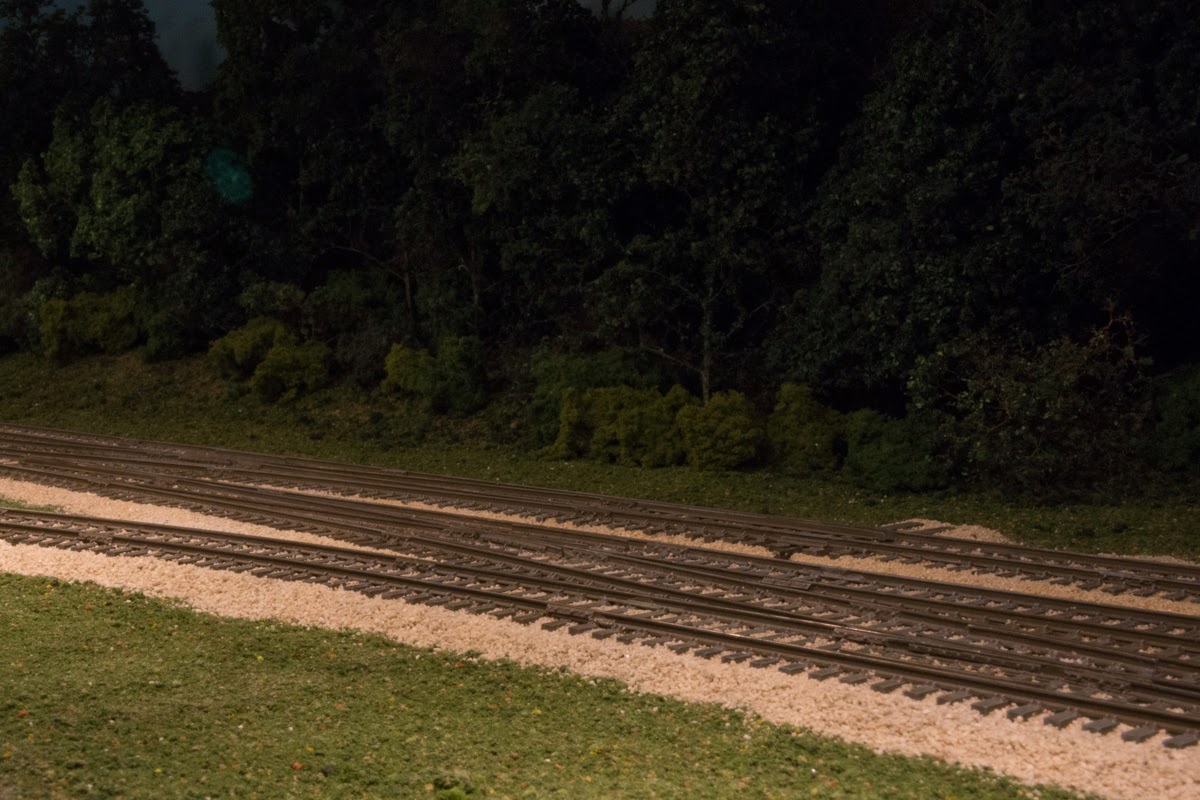
Close-up of weathered and ballasted track. The final stage of track weathering described in the Frary and Hayden scenery book is a light drybrushing with Titanium White oil paint, a step that really blends things together and also shows off the incredible detail of the Peco track and turnouts.
|
|
Track ballasting and weathering at Dunes Junction are complete! Per my
earlier posts, I'm using a combination of techniques from
Model Railroader magazine (link
here for a reprint of Cody Grivno's track ballasting article; requires registration) and the incomparable
How to Build Realistic Model Railroad Scenery (3rd Edition) by Dave Frary and Bob Hayden, which ought to win some kind of publishing industry award for most timelessly useful and densely packed how-to book of all time.
A couple of key lessons learned:
- Disposable 1" or 1 1/2" foam paint brushes are awesome for spreading, leveling, and shaping ballast.
- Woodland Scenics Scenic Cement is essentially a ready made version of the matte medium recipe that Frary and Hayden describe in their book. If I were building a large layout, I would probably make my own per Frary and Hayden to save a few bucks--Scenic Cement is around $8 or $9 bucks per 16 oz. bottle.
- Cody at Model Railroader uses an airbrush to weather his ballasted track, but Frary and Hayden explain how to accomplish the same results with washes and drybrushing, a method that takes longer but offers more control (and doesn't require an airbrush).
Finishing the overpass and the flagstop are up next.


No comments:
Post a Comment