Monday, January 28, 2019

What’s Happening on the Old Line Corridor, January 2019 Edition

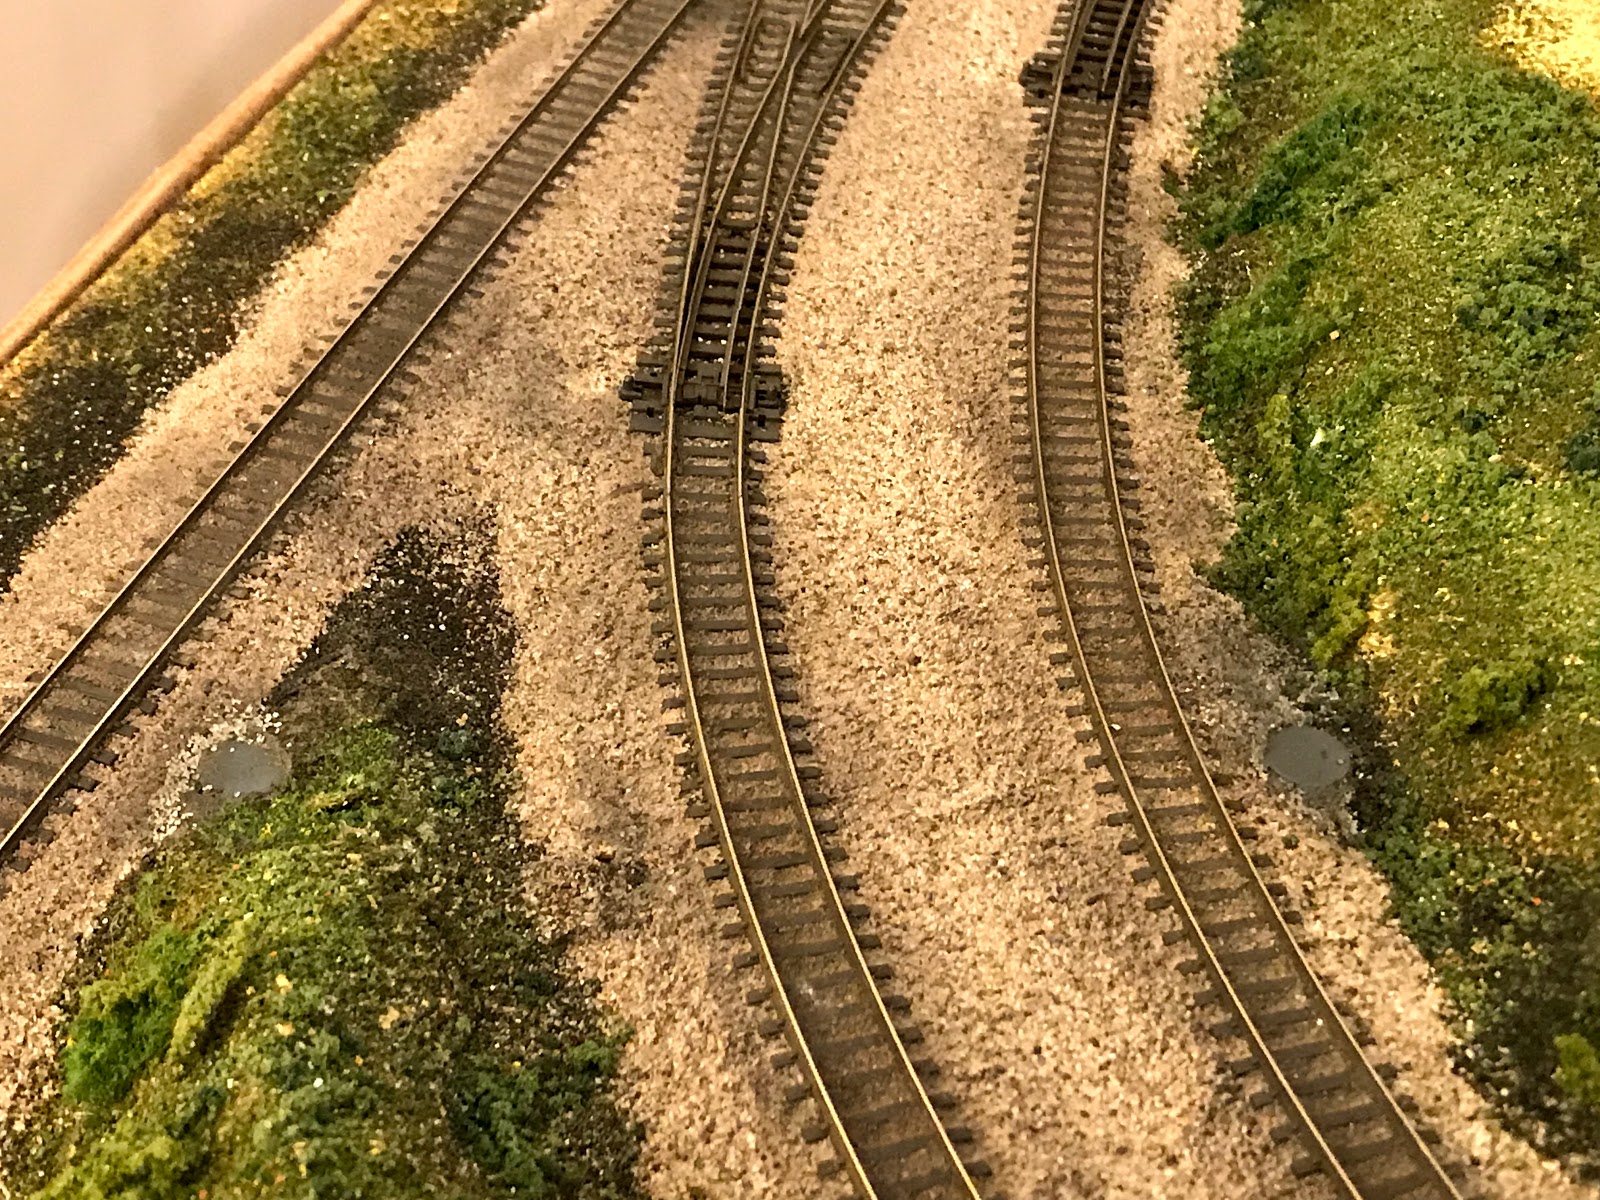
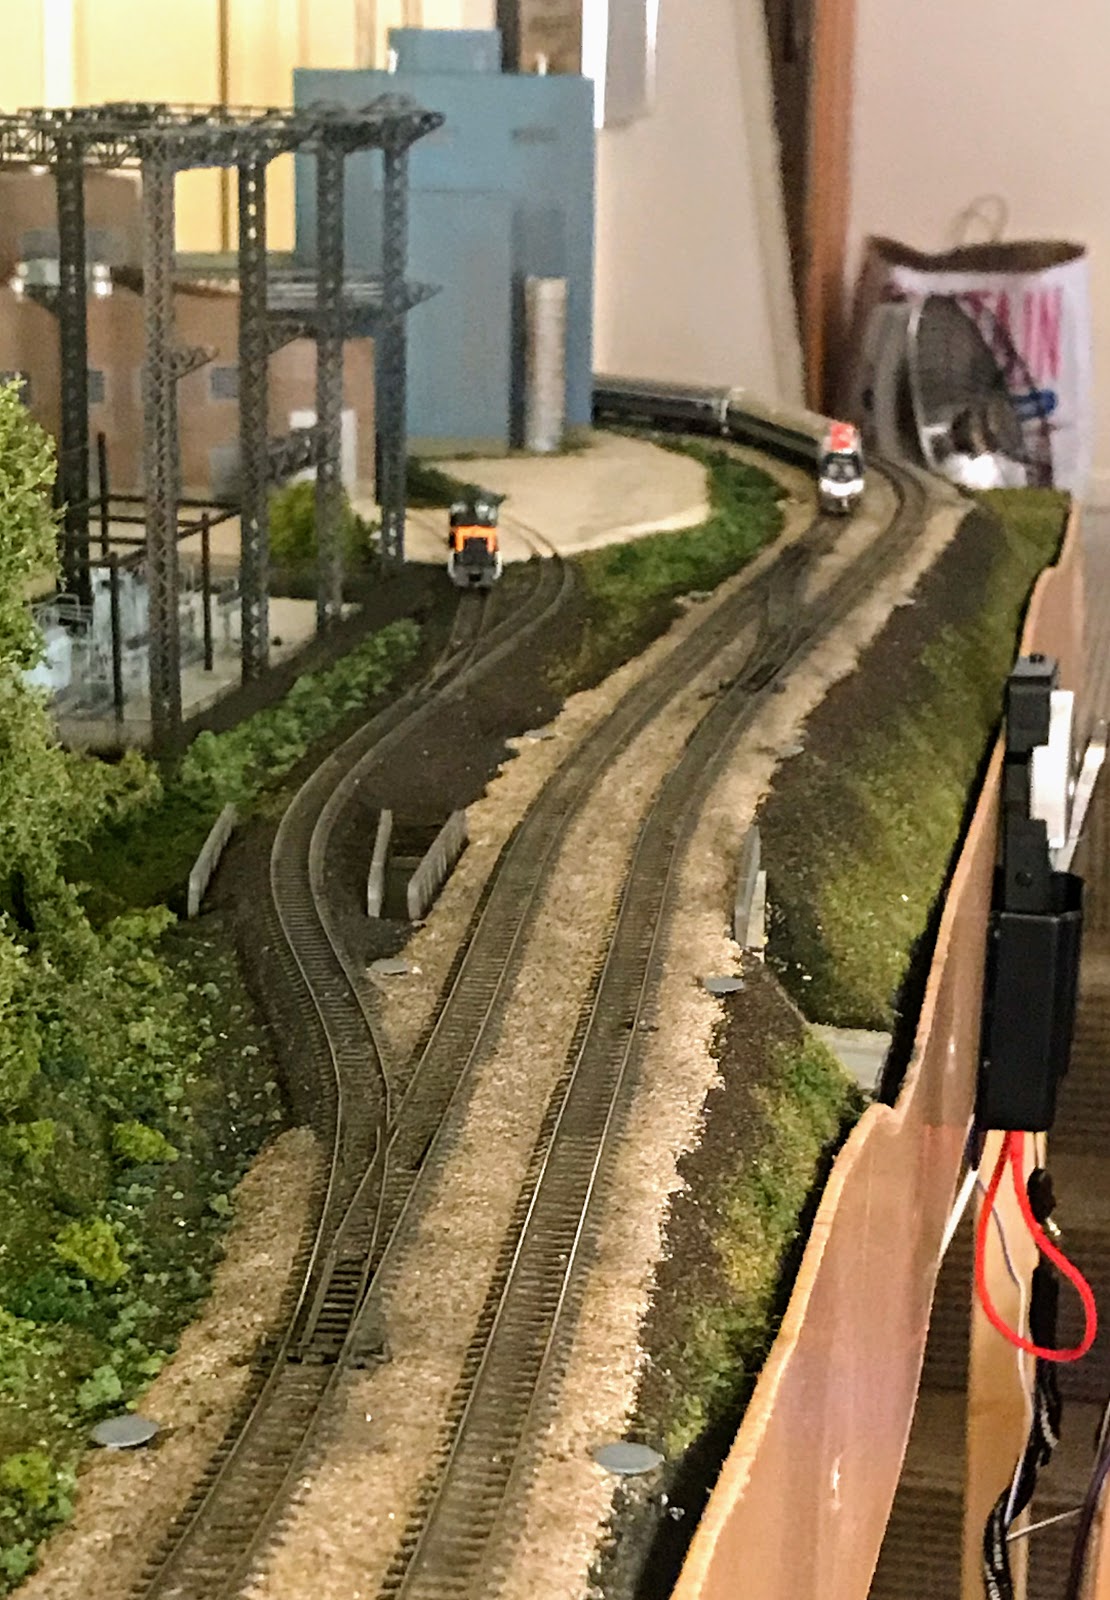
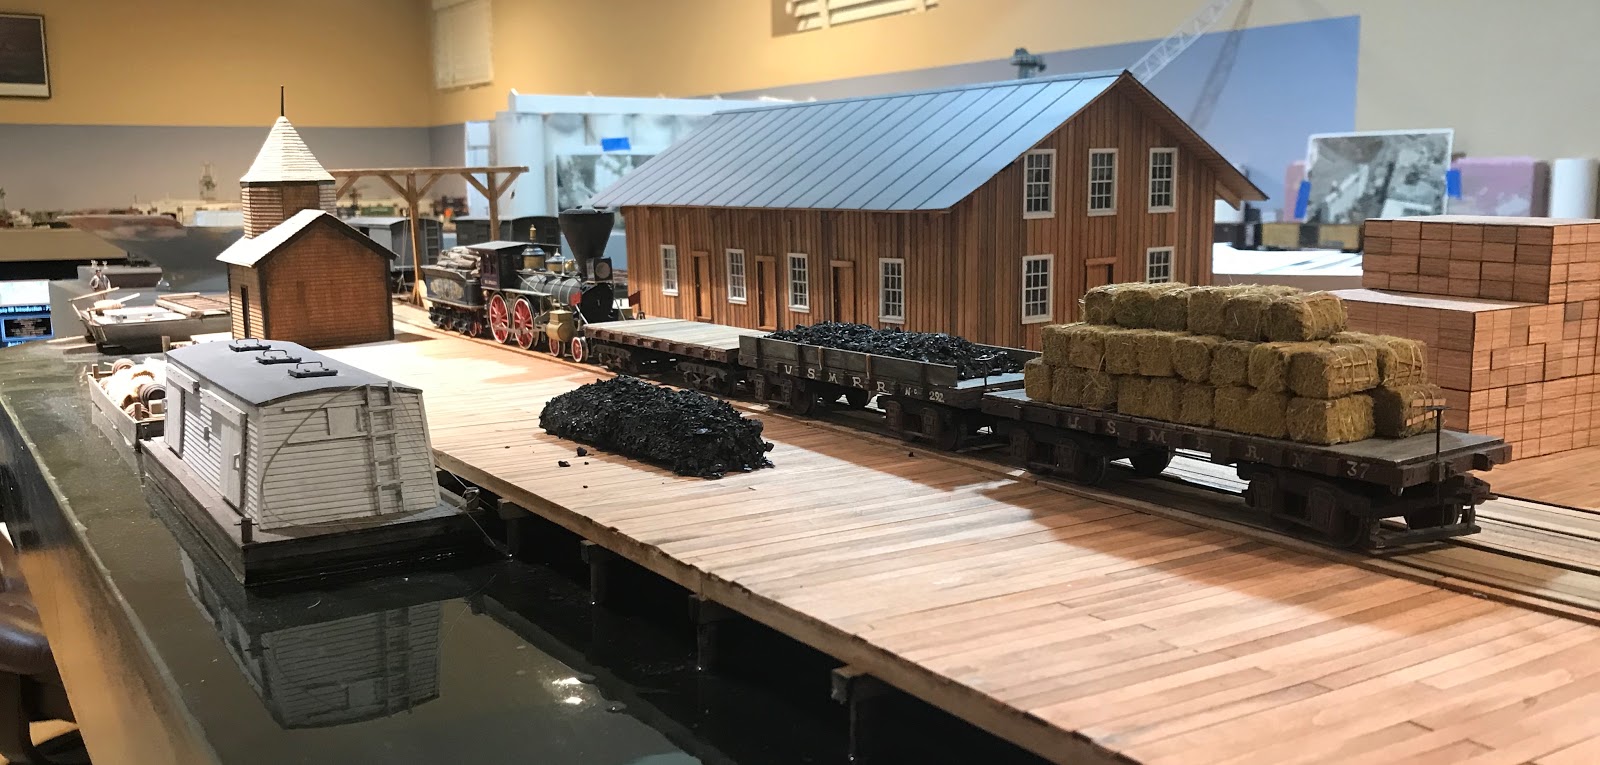
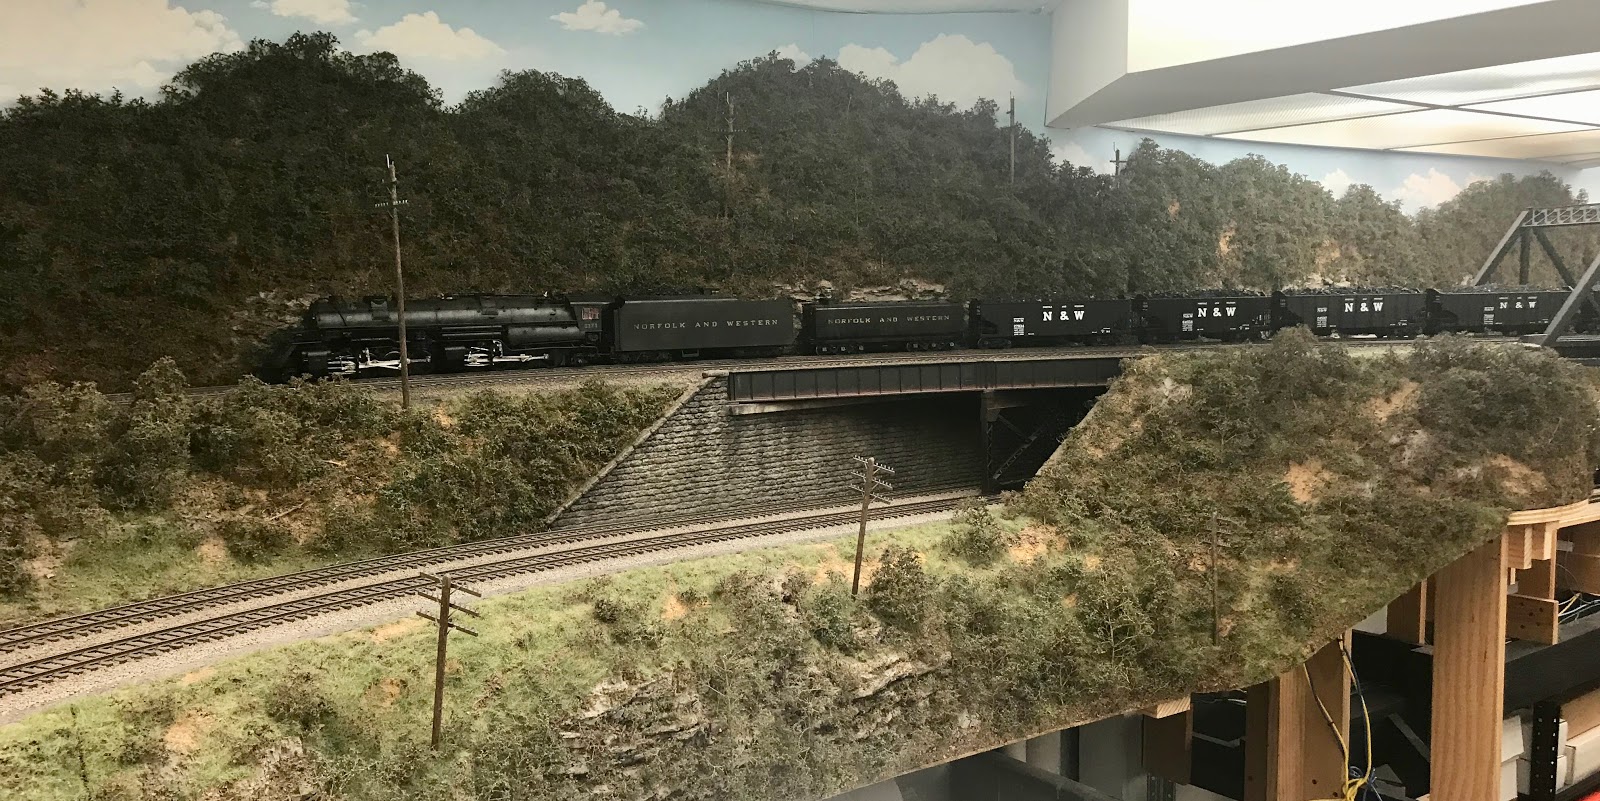
Smells like team spirit: Operation Lifesaver is in the house--this Conrail Operation Lifesaver GP15-1 was a gift to my wife, Rachel, who is Operation Lifesaver's national Executive Director. Finally got a DCC decoder into this gem of a model over a recent weekend so it can run on the Old Line Corridor layout.  
A tiring chore completed: this sound-equipped Bachmann GG1 in Congressional Silver threw a traction tire, which needed to be replaced. Traction tires are an unfortunate fact of life in N scale. Can't live with 'em because they interrupt good pickup and make rerailing a hassle, can't live without 'em because when they inevitably come off, the wheels are won't track or roll well because of the big ol' groove in the wheel profile. The model required complete disassembly to replace that one errant traction tire. This problem also afflicts Kato's otherwise excellent GG1 model as well. Would that some aftermarket manufacturer devise some ingenious method of replacing traction tires permanently with solid metal tires.  
And a fun structure build: this Walthers farm equipment supplier kit fits together especially well and is well engineered, unlike Walthers massive papermill kit which suffers thin, flimsy, translucent walls and confounding windows. Walthers could improve the instructions for all its current structure kits. 


Monday, January 21, 2019

Texas Interurbans

This old freight motor, Interurban Express Motor #330, is on display at the Visitor's Center in downtown Burleson, TX. I visited family there recently, and they took me to see the partially restored car, the interior of which also serves as a museum exhibit.

Side view of 330. Looks like it rolled right out of the Crooked Mountain Lines shop. Particularly striking was the gaunt, small scale of the cars on display in comparison even to modern light rail vehicles, let alone to modern mainline passenger and freight equipment. 

Parlor Car #411 is also on display--a much fancier specimen than that rugged old freight motor. Unfortunately, appears to be missing its pilot and steps. The wood restoration on both 411 and 330 is excellent but both were missing traction motors wiring. Wonder what the prospects for full restoration to operability are?

Monday, January 14, 2019

Catenary Towers, Part 3: Blending In and Finishing Touches

What it's all about: the finished result. Scenery materials and weathering blend the painted Shapeways/Designdyne towers into the layout as described below.


Principal blending materials: Vallejo Earth Texture; ballast, soil, and green blend materials in seed dispensers; and water. Stole the idea for the seed dispensers from a recent Model Railroader article. I found mine on Amazon in a pack of five for less than $10, and I'm not sure how I did scenery work without them. The medical irrigation bottle for water was another cheap Amazon find, handy for work on the layout and at the workbench.
First step is to apply the Vallejo Earth Texture around the mounting nails to fill obvious gaps, build up terrain around the nails, and provide an adhesive surface for ballast and ground cover materials
Here is Vallejo Earth Texture covering the gouge in the scenery that resulted from leveling the towers back in Part 1, with some fresh ballast already applied to the Earth Texture. Soil and grass blend colors will cover the remainder of the Earth Texture. The seed dispenser affords precise application of the scenery materials with minimal waste.
A wet Q-Tip ('cotton bud' in UK-speak) cleaned excess Earth Texture and scenery materials off the mounting nails.


Ballast and scenery materials in place. After the Earth Texture sets, the shop vac will make short work of excess materials. after vacuuming up the excess ballast, I used the seed dispenser to touch up and fill in any remaining gaps, followed by wet water and Woodland Scenics Scenic Cement. The touching-up/filling process also allowed the ballast to fall in more naturalistic distribution around the tower bases.
After the clean ballast spots dried, I airbrushed a fog of muddy gray paint to blend them into the already weathered ballast. The flat gray enameled nail heads also blended in during this step.
A quick snapshot looking down the main line, showing off the rusty and dark variations in tower colors.  

Gray and galvanized effects looking down into the visible staging yard.

Monday, January 7, 2019

Catenary Towers, Part 2: Painting and Weathering

My improvised painting rig made good use of the towers' magnetic bases. I applied masking tape to a particularly magnetic steel ruler, and then taped the ruler to my Tamiya spray painting stand. I first touched up my original primer paint job, which I applied with a Rustoleum rattle can a year and half or so ago. The rattle can did not effectively reach the many nooks and crannies of the very detailed Shapeways/Designdyne towers, so I airbrushed another coat Badger Stynlrez black primer to make sure the many undercuts and complex shapes got adequate coverage. If Shapeways could use a black material for these particular items, it would be a great help as the white FUD material is quite challenging to prime. After the Stynelrez primer dried, then Vallejo Air rust, grey, and concrete colors were then applied. I used folded paper masks to ensure a sharp demarcation for the concrete footings and occasional sections of unrusted galvanized column. This is an all-rusty tower with no new galvanized column sections added, commonly found on the Washington-Philadelphia section of the 90s-present Northeast Corridor.   
This retired cookie sheet has been a staple of my magnetic mounting technique, and I used it to facilitate my painting production line. Here are all of the Old Line Corridor's catenary structures, in order of placement on the layout, ready for the next stage of painting. At this stage, the main structures and concrete footings have been painted; some of the insulators have been brush painted. Note that some towers are all 'rust', while others have new, galvanized sections added. A light gray color simulates the galvanized replacement sections. One of the four track signal towers received more gray than any of the other towers; this style of tower, for some reason, maintains more of its original gray/aluminum color and does not rust through as thoroughly as the more common non-signal K-braced towers.

Before: roofing nails used for catenary tower bases are sufficiently magnetic and form a good grip into the sandwich of ballast, cork roadbed, and styrofoam baseboard, but they sure are shiny! 

After: to kill the shine of the roofing nail heads, I sploshed (check out my UK vocabulary, maybe the Continental Modeller subscription and Kathy Millatt videos are rubbing off) some old-fashioned Testor Flat Gray enamel on each of the heads to subdue them in preparation for ballasting and blending them in. Smell evokes powerful memories, and the whiff of solvent-based enamel transported me back to my earliest days of model making. That now-rare smell of and the modest challenge of tracking down a store that still carries a stock of Testor enamel reminded me that solvent-based paints are no longer part of the model making mainstream.
In our next installment, Part 3: Re-installing and blending in the catenary towers on the Old Line Corridor.

Monday, December 31, 2018

Catenary Towers, Part 1: Truing Up

A key element of the Old Line Corridor's visual character is its picket of Pennsy-style catenary towers. As previously described here over the past year or two, my imaginary, impressionistic Northeast Corridor catenary towers were primed black and their magnetic mounts roughed in. Some extended holiday modeling time became available, so I used the opportunity to complete my catenary. In the next three posts, I'll show how I how I took the catenary towers on the Old Line Corridor from 'roughed in' to 'more or less finished'.  

First step: ensure that the roofing nails used as magnetic mounting bases are square. Bar magnets placed on the mounting bases were checked with a plastic square. Adjustments to roughing nails were made using a pliers to twist and shimmy the nails into square and level positions.  

At the entry to the Ivy City visible staging yard, the double track catenary tower was too narrow, so I fitted a four track tower instead. This improvisation necessitated carving away some terrain for square and level installation, as seen on the right side of the photo. 

In the time since I primed and roughed in the catenary mounts and towers, many of the 3-D printed towers warped. Not sure if some of the rough, crooked mounts caused this warping, or if the warping is a natural outcome of the characteristics of the Shapeways FUD material in combination with the thin, near-scale cross sections of the main tower structure components. However, the material is responsive to gentle heating. Here is the cross structure of one of the bridges clamped to a scrap of 1x1 hardwood in preparation for heating.

Straightening a particularly badly warped tower cross bridge section using my festively-colored heat gun. I did this completely by feel and instinct, keeping the heat gun moving and 3-4" away from the catenary bridge, with occasional pauses during which I would touch the assembly. When it felt very warm but not yet hot enough to not touch, I stopped the heating and let it cool back to room temperature before unclamping. Nearly all the towers have developed some degree of warpage, in either the horizontal bridge or 'K' section or in the vertical uprights; I straightened only the half dozen or so that showed the most noticeable warping.
Next up: painting and weathering the catenary towers.

Monday, December 24, 2018

Look What Drove Me Home from New York

I had a bit of an obsession with Amtrak ACS-64 642, the special veterans locomotive, a few years ago when Amtrak first rolled it out. I had at least two tantalizing glimpses of it in 2015 or so, and was either without camera or too slow on the draw to meaningfully capture it. So imagine my surprise an delight as I stepped off the 55 Vermonter in Washington Union Station after a week on client site and realized I had been riding behind 642! Bachmann makes it in HO, and an N scale version has been rumored since Kato released its ACS-64 a few years ago. This is another Sony RX100M2 capture; this image is remarkably high quality for such low-light conditions.

Looking the other way down on the platforms of Union Station, more NEC trains. This image would really never have been possible with film--today's digital cameras extend the reach of photography in ways that would have seemed miraculous 20 years ago.

Saturday, December 22, 2018

Launching a T-Trak Side Quest


This single T-Trak module is the most basic and original building block of the T-Trak table top N scale module concept. Note the line of holes for attaching Kato Unitrack, which is an integral element of the T-Trak standard. The module bases shown here were constructed from Masterpiece Modules kits, each of which comprise nine CNC router-cut 1/4" Baltic birch parts. The precision-cut parts fit together like 3-D puzzle pieces; carpenter's wood glue is applied to the mating surfaces. Per the instructions, gentle hammer taps moderated by a block of scrap wood ensure the precisely milled tabs fully seat  and form  square, super strong joints. The resulting module boxes are extremely rigid and sturdy.
Life comes at us fast, says an advertising campaign, and my wife, Rachel, and I are anticipating major changes to our living and working situation over the next five to ten years. In particular, we have the good fortune of a likely early retirement in the next five years or so.

As we have contemplated new living arrangements, possibly with multiple smaller homes while we transition between full-time work and retirement, Rachel has thoughtfully raised concern about how I can continue my modeling in smaller, transitory spaces.

I'm also thinking of ways to satisfy multiple different modeling interests. As mentioned here previously, I still have an abiding interest in modeling the prototypes of my home region of Northwest Indiana, as well as burgeoning new interests in European prototype modeling. 

An Operation Lifesaver T-Trak single
module concept. Will look awesome on
Rachel's desk!
Yet another project I have in mind is to modestly contribute to and support Rachel's new professional role as a railroad industry safety leader via my modeling. Put another way--she needs relevant railroad models for her desk and her rail industry events!

And I'm finding the fellowship of model railroading increasingly rewarding. I have uncovered the model railroad social scene in Washington DC area, and was pleased to find that we have a vibrant N scale modular model railroading scene, focused on the Ntrak and T-Trak standards.

T-Trak modular model railroading in particular offers a promising approach to meet these portability, versatility, and fellowship needs. To give the approach a test drive, I recently took the plunge and ordered T-Trak module base kits from Masterpiece Modules.

These kits are ingeniously engineered and produced, and were a delight to build--each went together in less than 30 minutes each with only sandpaper, carpenter's wood glue, a hammer, and a wood block. For future efforts, I may learn and use makerspace tools--such as laser cutters and CNC routers--to make modules and other benchwork of my own design.

In addition to an Operation Lifesaver module, I have in mind at least one Northwest Indiana-themed module, and also a European module. The Euro module is very likely to be a long quad, so I can build out a run of Sommerfeldt or Viessmann catenary.

Stay tuned for more on my T-Trak side quest.
A double T-Trak module--same number of parts, just differently sized. The Ă–BB (Austrian state railways) Vectron loco is positioned over the row of Unitrack mounting holes to give a sense of proportion. If you were thinking, "that loco looks familiar yet more interesting," that because the four-pantographed Ă–BB Vectron is the sexier Austrian cousin of Amtrak's ACS-64 Cities Sprinter. This Fleischmann model has excellent lighting and running characteristics, which I fully leveraged by using a ESU LokPilot 4.0 decoder with an Next18 plug.

Rear view of a quad T-Trak module. Note the small round holes intended for mounting the backdrop ('skyboard' in T-Trak parlance) and the large square holes for passing through wiring.  This module will likely be German- or Austrian-themed, with a run of either Sommerfeldt or Viessmann catenary. I’m thinking a Rhine cliffs or similar theme.

What's underneath: not much. The front, ends, and top fit together very tightly and squarely. Those corner gussets add more strength and are fitted with T-nuts for threaded ‘legs’ that allow for adjustment to uneven tabletop surfaces. Am wondering whether I should screw in more bracing to minimize twisting or torsion, but I suspect that would be overkill on an already excessively sturdy and overbuilt design. 

Sunday, December 16, 2018

New Job, New Camera, New (Casual) Railfanning

This speeding Long Island Rail Road DE30AC at Carle Place, New York, was the first railfanning occasion for my new Sony RX100M6 camera. I bought the camera to celebrate my new job, so it was fitting that traveling home from my first week in the field with clients presented this opportunity to break out the new camera. The end-of-day winter twilight did not help but this brave little superpowered point-and-shoot acquitted itself well in these challenging shooting conditions--it was dark, wet, and that outbound LIRR train was doing at least 60 mph.
A scant five minutes later this string of MUs blasted through. Trains magazine has tagged at least one major LIRR junction, closer into New York City as I recall, as a hot spot. The LIRR is very busy, and even though I was on an 'off-peak' train, I didn't wait and it was quite full. I will be on this client engagement, which also affords me an Amtrak ride from Washington to NYC, for another month or so--more photos likely.


Friday, December 7, 2018

Stuff I’ve Been Reading: Foreign Model Rail Mags

I’ve made a point of late of being a more social model railroader, which has led—weirdly—to a dramatic increase in my consumption of foreign model railroad magazines.
I resumed reading a German-language model railroad magazine, MIBA (MIniatur BAhnen, or Miniature Railroads), as a direct result of all the model railroaders I have met in the past few months who ask me why there isn’t wire between the fancy Pennsy poles on my N scale Old Line Corridor layout.
“Aren’t you going to put up catenary wire? Europeans do it all the time in N scale.”
I have tried—in vain—to explain that the Old Line Corridor is a kind of extended experiment, and that I had already doubled down on impressionistic modeling of the tower and right-of-way elements of Pennsy/NEC catenary, but would not be modeling the wire.“You ought to think about wire. You’ve done it in HO, so you should be able to do it in N.”
Those suggestions, and the allusions to European modelers who are undaunted by N or even Z scale catenary, led me to revisit my Sommerfeldt and Viessman catalogs and guidebooks--which do make N scale catenary seem attainable.
I needed to read more on this topic, which is when I discovered a special edition of MIBA titled "Fahrleitungen im Modell" ("Modeling Overhead"). It helps here that my German is serviceable--I did live there for a time in the 80s as a soldier and even took a minor in German for my bachelors degree back in the day.
I downloaded the MIBA special edition and then went back for more--VGB, MIBA's publisher, helpfully offers its many railroad books and magazines in digital editions, via secure online transaction.
MIBA was already familiar to me--I bought a copy a day or two after arriving in Germany with the U.S. Army in 1986. MIBA opened a door into German culture for me. When the teacher of my Army-mandated German culture orientation class saw me reading MIBA during a class break, he revealed himself to be a model railroader! This experience repeated itself numerous times during my time in Germany, where model railroading is much more popular and much more mainstream than here in North America. For crying out loud, the Germany section of Disney's EPCOT Center, sponsored by the German government's cultural outreach arm, prominently features an outdoor model railroad. Germany even has a national model railroad day (December 2, FYI).
The magazine was available on practically every newsstand in Germany, and not only did I learn more German language from it, it provided me an entree into German life.
After buying a half-dozen or so of MIBA and other VGB digital editions, I took the plunge and became a MIBA subscriber. A print subscription here in the US probably would have cost somewhere north of $100 annually, but the digital subscription was very reasonably priced, no more than my digital subscriptions to Model Railroader or Railroad Model Craftsman. The how-to articles and layout stories are well done, the reviews thorough, and all are supported by excellent photography. Cutting and pasting text into Google translate provides an expeditious way to digest MIBA for readers who don't read German.
For its part, the "Fahrleitungen im Modell" edition is both a comparative product review of European model railroading's catenary products and a how-to on model catenary. The production quality is equal to or better than Kalmbach or White River's offerings. It will guide me through my upcoming experiment in actual N scale catenary construction on a European-prototype T-Trak module (watch this space).
*  *  *
With all this thinkin' about European trains, a stack of Continental Modeller magazines caught my eye a month or so ago at Rockville Model Railroad Club's table at the Train Show in Timonium. A cover story on an Austrian prototype HOn30 'heavy' electric layout particularly intrigued, but there were other interesting stories scattered throughout the magazines. Glen from the Rockville Club wanted $2 each, and it was late in the show, so he offered me the whole stack of a dozen magazines for $5. I took them all.
Continental Modeller is a British model railroad magazine focused on non-British modeling subjects--mostly 'continental' European subjects, with occasional forays into North America, Africa, Asia, Australia, and even South America. CM leans heavily into layout stories, and has a smattering of how-to, technique, and product review content.
Like MIBA, CM is available digitally. Unlike MIBA, CM has its own app that also affords access to CM back issues.
Continental Modeller's layout stories seem more 'human' than the typical MR or RMC fare, spinning yarns of layouts acquired second-hand, or renovated after years of dormancy. There are also a wider variety of approaches to model railroading in evidence--very small layouts, for example, and layouts built specifically for display at exhibitions, not just the operations-oriented basement empires or 'lifetime layouts' that are the staple of North American model railroad magazines.
Speaking of model railroading cliches, Continental Modeller does seem to rely on a few. Just as Model Railroader falls back on Appalachian coal haulers and Colorado narrow gauge, Continental Modeller has what seems to be an endless parade of Alpine narrow gauge layouts, and lots of German engine terminals.
But I'll keep readin' 'em all anyways--cliches or no, I thoroughly enjoy seeing model railroading from all over the world, done as many different ways as possible.


Monday, November 26, 2018

Just Because

Rode this in Canada when I was 10 or 11, and Rapido did it right in N scale. Thanks Jason Shron, and company, this one hits the spot.

Monday, November 19, 2018

Ahh, the Utah Belt

Eric Brooman's Utah Belt is featured--again, after a sufficiently healthy interval--in the December 2018 Model Railroader. Even though I'm not particularly interested in modeling a southwestern US class 1 railroad, I have always enjoyed seeing the UB. I enjoy the artistry--Eric is an art teacher, after all. The vistas are unmistakably the great southwest, and Eric has nailed the colors, textures, and composition.

I also admire the depth and maturity of the overall concept. The UB *looks* right, like it belongs in the panoply of big American railroads. The paint scheme, in particular, is conservative, and UB's rolling stock conforms to consistent themes.

Monday, November 12, 2018

Retrofitting New Benchwork Under the Old Line Corridor

The Old Line corridor on its new rolling, rigid  benchwork. Note the galvanized Simpson Strong Tie fittings on the corners, which significantly simplified and sped up construction of the new benchwork. 
The Old Line Corridor was in need of a new benchwork foundation. The folding table legs, extended with 1" conduit tubing, which had served as the support for the layout, were becoming worryingly wobbly over time. The wobbliness became very apparent to me during recent visits to other layouts. I noticed particularly that most other layouts--even modular examples--were sturdy or even immovably stable in contrast to my OLC.

Also, the folding metal legs' springiness and tiny feet made it difficult to move the layout--moving the layout or even adjusting its position required two strong adults to lift the layout straight up.

I cribbed the idea for the folding metal legs from several different Model Railroader magazine project layouts. In particular, the Carolina Central layout from the mid 90s demonstrated the exact approach I used on the OLC. The Carolina Central had used a narrower 30" door and significantly less foam insulation than the OLC. As a result, I suspect the OLC's larger 36"-wide foot print and 3-plus inches of foam might have been pushing the limit of the extended folding legs' capacity. 

I considered a variety of options for replacing the folding legs. One approach would have borrowed another Model Railroader idea, that which was used under Red Oak N scale project layout: a heavy wheeled cart constructed from 1x4s and L-girders. Another would have been to use Ikea Ivar shelf components, as has has been done by Marty McGuirk and Bernie Kempinski on their layouts.

I homed in on a 2x2-based approach using Simpson Strong Tie shelving hardware. A Simpson Strong Tie DIY Shelving kit provided the eight required fittings and an ample supply of screws to attach the fittings to 2x2s. The fittings were attached at the top and bottom of the 48" 2x2 uprights. A 36" x 80" panel of 1/2" plywood, with 1 1/2" notches cut into the corners, formed a shelf for the bottome of the new frame. Once the fittings and plywood shelf were completely screwed in, the new frame was very rigid and strong. Casters with 3/8" stems were then fitted to the legs. The resulting benchwork is appropriately lightweight, yet rigid. The casters allow the layout to be repositioned and moved around the room easily.

And the wobble is completely gone!

Monday, November 5, 2018

N Scale Toaster Update

The basis of the N scale AEM-7--'Toaster'--project is Fleischmann's Rc4 model, and the first challenge was couplers. On the left, the Rc4 has been fitted with a Bachmann EZ Mate coupler; on the right, the Rc4 fitted with a Dapol magnetic coupler. The Dapol coupler is intended to be a substitute for Rapido couplers on buffer-equipped UK and continental European rolling stock. As a result, the Dapol couplers sit low, and are roughly the same volume and reach as Rapido couplers in the foreground; note the height in comparison. In short, the Dapols will not mate with the MicroTrains/Kato/Accumate/EZ Mate knuckle couplers that are more or less standard on US N scale rolling stock. I had hoped the Dapols would work on the Rc4s, but alas, I devised a method for attaching the shank of a Bachmann EZ Mate coupler to the shank of the stock Rapido couplers. I am surprised that MicroTrains has not introduced an appropriately shanked coupler that fits in the NEM standard socket common to many contemporary European N models.  
Getting ready for prime time: over in the paint shop, the Shapeways/Imperial AEM-7 shells have received a coat of GSI/Creos Mr. Surfacer. Note that the bottom half of the loco's pilots have been removed to accomodate the truck-mounted couplers. The coat of paint revealed prominent stratification and other artifacts of the 3D printing process. I anticipate that several coats of Mr. Surfacer, with careful sanding and polishing in between coats, will be required before they are ready for finishing in Amtrak colors. One will get an as-delivered Phase III paint scheme; the other will be finished in the Phase V scheme, which these Toasters wore at the time of their retirement.


Fleischmann Rc4 frame modifications in progress. On the left, the exposed silver metal indicates where the frame has been filed to fit the Shapeways/Imperial AEM-7 shell. On the right, note the installed TCS EUN651P-18 decoder; this is apparently the only US market decoder that fits in this model.

Monday, October 29, 2018

NMRA Middle East Region Meet Sights and Experiences

Bernie Kempinski's O scale civil war layout, essentially a museum-like mega diorama of Union Army logistics operations in Northern Virginia in 1863 or 1864, was a highlight of the MER meet. Most of the rolling stock and all of the structures are scratch built, and of course there are several hundred figures and horses scattered around the layout. Note the flatcar load of horse fuel.
The National Model Railroad Association Mid East Region held its big meet on 4-7 October 2018 in my own neighborhood of Rockville, Maryland. There was an extensive menu of clinics--presentations with varying degrees of audience participation--covering techniques, and my favorite, philosophy and approaches to model railroading. On the side, NMRA and MER officers met to discussion Region and Association business.

My favorite experiences of the event were the layout visits. The visits afforded interesting interaction with other modelers, and also convey a lot of information that doesn't come across easily in magazine articles or  clinic presentations.

If there was a theme to this MER meet's layout visits, it was 'O Scale Has NOT Left the Building'. Among the layouts I visited, there were three outstanding, mature O scale layouts that each individually demonstrated the strengths of well-executed, vista-filling O scale. 

Other scales and approaches were on proud display as well, with my first visits to basement-filling N scale and narrow gauge layouts.

John Sethian's layout was featured in the November 2017 issue of Model Railroader, and the photos--while good--just didn't do this layout justice. The focus is electified Pennsy in the 50s, which of course got my attention! John and I bonded over our love of electrics, catenary, and pantographs, but my big takeaway is the vehicle and structure detail is the soul of urban scenery. John also validated to me that heavy electric modelers must embrace a life of black smithery and kitbashing--even in O scale, which I had always thought of as the most heavy electric-friendly of the scales.

Chris Smith's O scale N&W layout takes a different but equally impressive approach to big-time, classic-era railroading. Chris' design and vision shows a lot of John Armstrong design influence, and he has packed in a lot of railroad into a modest space--all without seeming like a spaghetti bowl. The impressive vertical scenery is important here, but so is the layout's height, elevation, and lighting. These huge trains (a small car could parked in the space shown in this photo) appear even huger in reality because they are somewhere between chest and scalp height. The carefully managed viewpoints also convey the drama of big Appalachian railroad--the grades are perceptible without looking like Alpine rack railroads. Imagine O scale N&W jackshaft and massive Virginian electrics on a layout like this!

Monroe Stewart's N scale Hooch Junction has also graced the pages of Kalmbach magazines. This basement-sized layout requires a three or four person crew just to run trains around for visitors! The logistics of this large layout was overwhelming and impressive--it has what amounts to a server closet full of DCC and other electrical gear.  This port area is many times the size of an N scale hollow core door layout. This is one of several large industrial areas; there is significant mountainous terrain with deep gorges and high peaks in between. 

Jane and Pete Clarke are principals in the East Broad Top historical society, so it stands to reason that their large HOn3 EBT layout accurately reflects the look and operations of the EBT. In my humble opinion, narrow gauge outside of the Rockies gets a pretty short shrift in the model railroading universe, so seeing this fully realized, prototype-based layout was an unexpected pleasure. I have since had a lucky opportunity to operate on this layout. Jane and Pete meticulously plan and execute their op sessions based on actual EBT practices and traffic, and the carefully planned layout exemplifies the 'design for operation' approach. Hearing about how Jane and Pete have built their rolling stock roster gave me a new appreciation for the challenges of modeling the obscure--and here I thought my South Shore and heavy electric models were far and few between. 

At the MER convention site, a large FREMO module display featuring modules from all over the mid-Atlantic Seaboard region. Here are the Philly area FREMOers with their ambitious heavy electric modules--some already have catenary, and these will eventually have wire as well.

Monday, October 22, 2018

Signs of Life in North American DCC Development?

When last we visited the topic of DCC, I lamented that North American DCC manufacturers have been slow to update their control systems to the state of the art of general consumer electronic devices (think iPhones, iPads, Android, Nests, etc.) or even to late-generation European DCC control systems (look at these Piko, ESU, and Z21 offerings). But there are some hopeful signs of life in the North American DCC control market.

Since that post, Digitrax has offered its LNWI module that can serve as a gateway for wifi-enabled throttles and smart phone apps, but there have been few other new DCC control products introduced into the North American model railroad marketplace. The LNWI module can even facilitate use of an ESU Mobile Control II with an existing Digitrax system, so modelers who are interested in dipping their toes into late-generation DCC control can do so without completely recapitalizing their existing Digitrax system.

Meanwhile, there are rumors in the hobby shops and train shows that one of the big US DCC manufacturers will soon introduce a new LCD-faced control device similar to the smartphone-like Piko, ESU, and Z21 controllers, but alas, our hobby is a festering hive of rumored new products, and ever shall it be. But maybe there's something to such rumors?

A recent announcement from Train Control Systems (TCS) indicates that TCS--primarily a decoder manufacturer--is joining the late-generation DCC control revolution. TCS is looking for user experience (UX) and digital design experts to join their development team. The  announcement leans heavily into a vision for a graphic user interface approach to decoder programming. In other words--more buttons, sliders, and intuitive approaches to representing decoder programming on a computer screen. JMRI accomplishes some of this now, but the concept could use some modernization and UX improvement.

I'll be excited to see where TCS takes this concept, and to see where the other North American DCC makers take their controllers next.